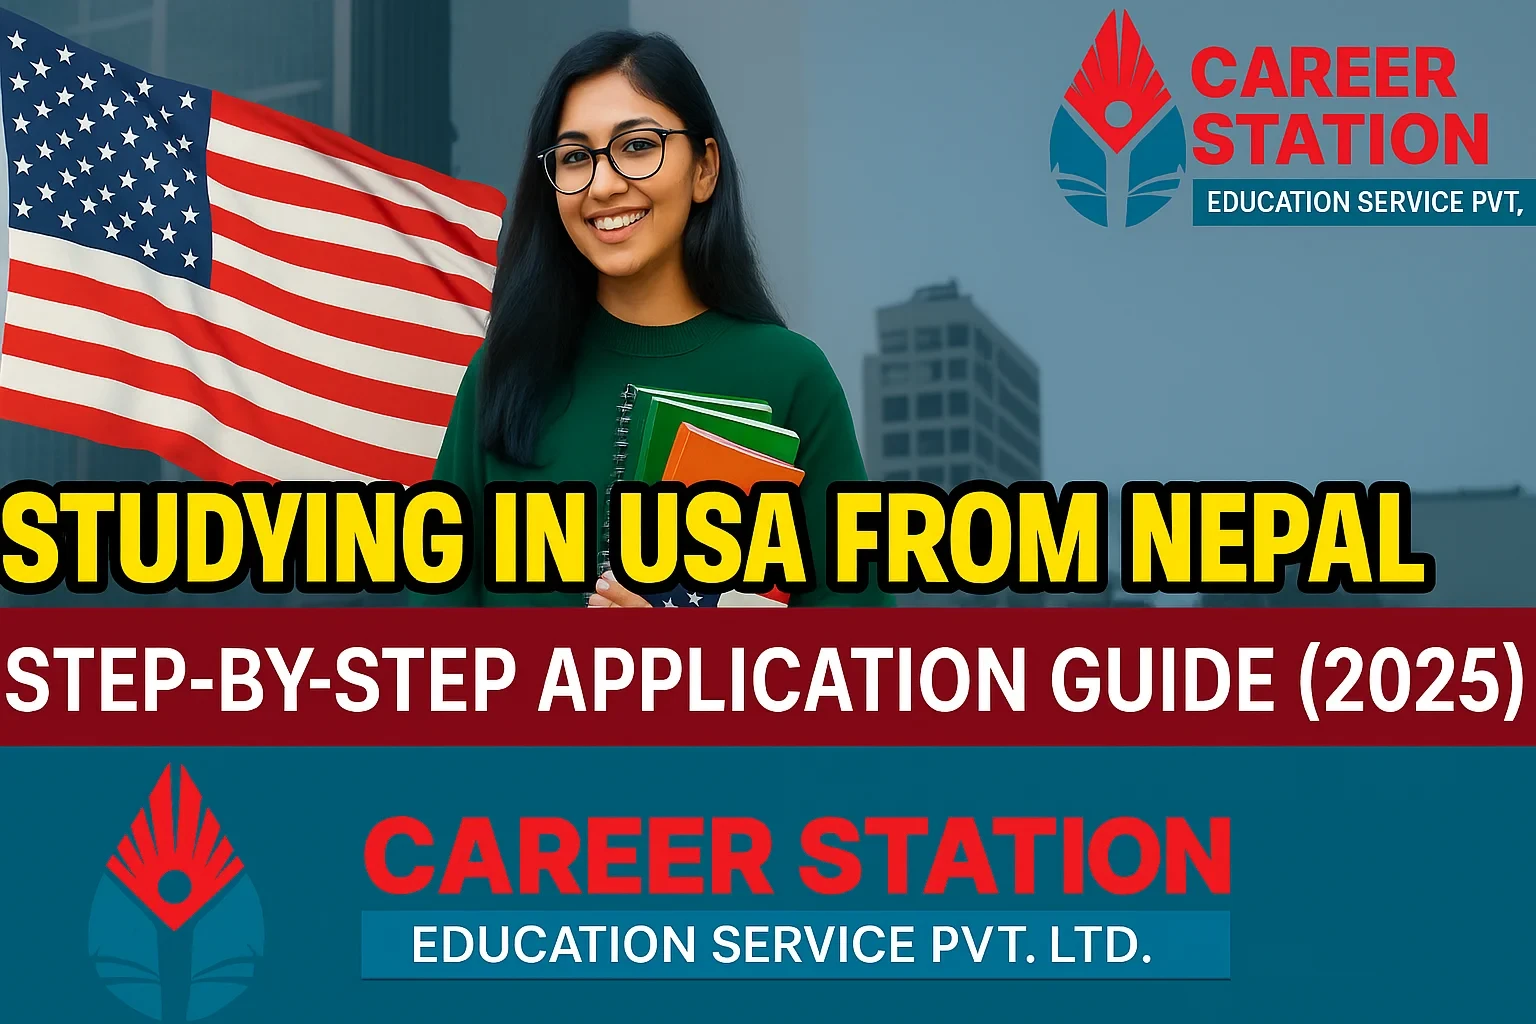
The USA has always been a top choice for Nepali students because of its high-quality education, flexible learning environment, and career opportunities. But applying to study in the USA is not just about filling out forms — it requires careful planning and following the right steps.
Here’s a clear, step-by-step guide for Nepali students who are planning to study in the USA.
Step 1: Research and Choose the Right University
Start by shortlisting 3–5 universities that suit your academic goals, budget, and preferred location.
Things to check:
- Course relevance: Does the program match your career plan?
- Ranking & reputation: Check rankings and university reputation using sources such as QS, THE, or U.S. News.
- Tuition fees: Depending on the university and program, tuition can range from approximately $15,000 to $50,000 per year.
- Living costs: Cities such as New York can be expensive, while smaller cities and towns may offer lower living costs.
- SEVP certification: Make sure the university is authorized to enroll international students.
Tip: Create a comparison chart to evaluate universities based on tuition fees, location, programs, scholarships, and admission requirements.
Step 2: Check Admission Requirements
Each university sets its own admission requirements. Generally, you may need:
- Academic transcripts such as SEE, +2, or Bachelor's-level transcripts
- Minimum GPA requirement, often around 2.5–3.0 or higher depending on the program
- English proficiency test scores such as IELTS, PTE, or TOEFL
- Standardized test scores such as SAT, GRE, or GMAT, depending on the course and university
- Statement of Purpose (SOP)
- Letters of Recommendation (LORs), usually 2–3
Tip: Carefully check the official university website to make sure you do not miss any specific or additional requirements.
Step 3: Prepare for English Proficiency and Entrance Tests
Many U.S. universities require international students to provide proof of English proficiency. Common tests include:
- IELTS: Around 6.0–7.0 band, depending on the university and program
- TOEFL iBT: Around 80–100, depending on the university and program
- PTE: Around 50–65, depending on the university and program
Other possible tests include:
- SAT: Commonly used for undergraduate admissions. A score of 1200+ may be competitive at some universities.
- GRE: May be required or recommended for some master's and graduate programs.
- GMAT: May be required or recommended for some business and MBA programs.
Tip: Start test preparation at least 4–6 months before your application deadlines if you need significant preparation time.
Step 4: Prepare Your Application Documents
Your application should be complete, accurate, and professionally prepared. Common documents include:
- Academic certificates and transcripts: Provide official or appropriately certified documents as required by the university.
- Valid passport: Make sure your passport is valid and meets the requirements for your intended travel.
- Statement of Purpose (SOP): Clearly explain why you want to study in the USA, why you selected the particular course, and your future goals.
- Letters of Recommendation (LORs): Usually provided by teachers, professors, or employers, depending on the program.
- Resume/CV: Commonly required for postgraduate applicants.
- Portfolio: May be required for creative programs such as design, architecture, or related fields.
Tip: Customize your SOP and other application materials for each university rather than submitting the exact same application everywhere.
Step 5: Submit Your University Applications
Most university applications are submitted online through the university's official application portal or an approved application platform.
Typical intake periods:
- Fall Intake (August/September): Applications are commonly submitted between October and March, depending on the university and program.
- Spring Intake (January): Applications are commonly submitted between April and August, depending on the university and program.
Application fees: Many universities charge an application fee, often around $50–$100, although fees vary and some universities may waive them.
Tip: Apply to a balanced mix of “dream,” “target,” and “safe” universities to increase your options.
Step 6: Receive Your Offer Letter and Get the I-20 Form
Once you receive an admission offer:
- Review the offer letter carefully and complete any required conditions.
- Pay the required admission deposit if requested by the university.
- Provide the financial and other documents required by the university.
- Request and obtain your Form I-20, which is an important document for the F-1 student visa process.
Tip: Keep digital and physical copies of your admission and financial documents for your visa application and future reference.
Step 7: Apply for an F-1 Student Visa
The F-1 student visa process generally includes several steps:
- Pay the required SEVIS I-901 fee.
- Pay the applicable visa application fee.
- Complete the DS-160 online application form.
- Schedule your U.S. visa interview according to the current procedures for applicants in Nepal.
- Prepare the required supporting documents.
Commonly required documents may include:
- Form I-20
- SEVIS payment receipt
- DS-160 confirmation
- Valid passport
- Visa appointment confirmation
- Bank statements and financial documents
- Sponsor or financial support documents, if applicable
- Academic documents
- Evidence supporting your study plans and circumstances
Important: Visa fees, SEVIS fees, and other U.S. government charges can change. Always verify the latest fees and requirements through official U.S. government and U.S. Embassy sources before making any payment.
Tip: Practice answering common visa interview questions such as “Why did you choose this course?”, “Why this university?”, and “How will you fund your studies?” Answer honestly and consistently with your application.
Step 8: Prepare for Departure
Once your visa is approved, start preparing for your journey to the USA.
- Arrange accommodation, either on-campus or off-campus.
- Book your flight after carefully considering your university's reporting and orientation dates.
- Attend pre-departure orientation sessions.
- Pack essential documents in your carry-on luggage.
- Keep your passport, visa, I-20, admission documents, and other important papers easily accessible.
Tip: Keep all official documents together in a separate folder so they are easy to access during your journey and upon arrival.
Step 9: Arrive and Start Your Studies
After arriving in the USA:
- Arrive in time for your university's orientation and reporting requirements.
- Attend orientation sessions and complete the required university registration processes.
- Arrange essential services such as a U.S. bank account and mobile SIM or phone plan.
- Learn about the employment rules that apply to F-1 students.
- Stay informed about your responsibilities as an international student.
Tip: Maintain the required full-time enrollment and follow all F-1 student regulations to help maintain your immigration status.
Final Advice for Nepali Students
- Start early: The entire process can take many months, so begin planning well in advance.
- Be honest: Provide accurate information in your university application and visa interview.
- Keep backups: Maintain digital and physical copies of important documents.
- Research carefully: Always verify university, visa, financial, and travel requirements using current official sources.
- Get professional guidance if needed: Proper guidance can help you avoid common mistakes during the application process.
Conclusion
Studying in the USA can be a rewarding opportunity for Nepali students, but the application process requires careful preparation. From selecting the right university and preparing your documents to obtaining your I-20 and applying for an F-1 visa, every step matters.
Start your preparation early, research your options carefully, and make sure you understand the latest requirements before submitting your application.
With the right planning and preparation, your journey from Nepal to studying in the USA can be much smoother and more manageable.